
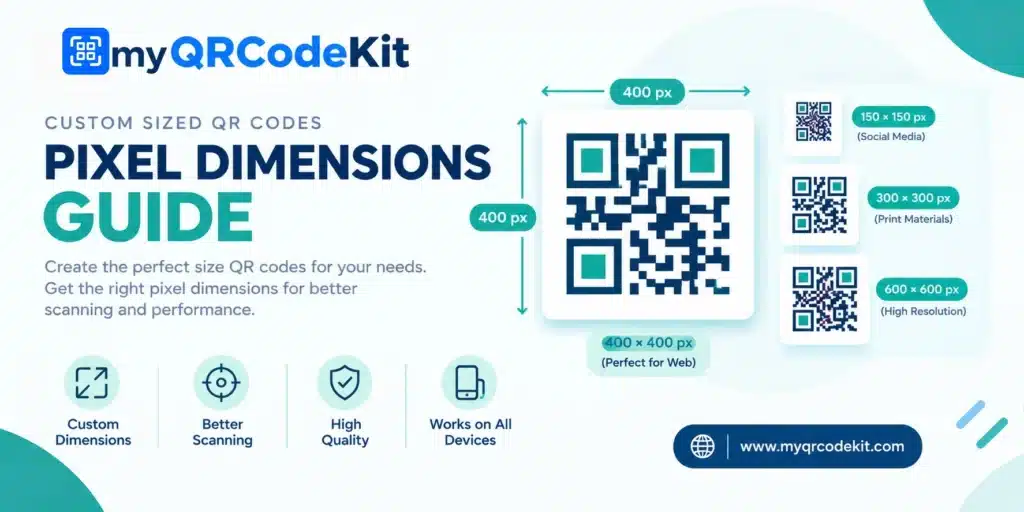
In graphic design and commercial print production, size is never just an afterthought. A QR code that looks perfectly sized when viewed on a 27-inch desktop monitor can easily become an unreadable, pixelated disaster when shrunk to fit a tiny cosmetic jar label or scaled up across a four-story outdoor trade show banner. One of the most frequent frustrations designers face is attempting to resize a fixed-dimension PNG file, only to watch the crisp black squares turn into blurry, antialiased gray blobs.
Generating a custom sized QR code with exact pixel dimensions and proportional vector resolution eliminates this problem entirely. Whether you need a crisp 300×300 pixel thumbnail for a digital mobile email newsletter or an ultra-dense 4,000×4,000 pixel raster master for a high-DPI commercial printing press, mastering sizing calculations is essential. In this technical guide, we will analyze the relationship between digital pixels, physical inches, and print resolution (DPI), examine the math behind physical scanning distances, and provide a master reference matrix for commercial production success.
The Physics of Resolution: Pixels, Inches, and DPI Explained
To create a custom sized QR code that prints with razor-sharp clarity, you must understand the mathematical formula that connects digital pixels to physical real-world dimensions:
The Core Print Sizing Formula: Required Pixels = Physical Dimension (Inches) × Target Resolution (Dots Per Inch / DPI)

Understanding Commercial Resolution Standards
- 72 to 96 DPI (Web & Screen Displays Only): Standard computer monitors and mobile phone screens render graphics at 72 to 96 DPI. While a 150×150 pixel image looks sharp on a website, attempting to print that same 150-pixel graphic on paper produces visible jagged pixel stair-stepping that confuses camera autofocus algorithms.
- 300 DPI (Commercial Offset & Digital Print Standard): Professional magazine ads, product packaging, brochures, and business cards require artwork to be rendered at a minimum of 300 DPI. A 2-inch by 2-inch printed code therefore requires an export dimension of at least 600×600 pixels.
- 600 to 1200 DPI (High-Precision Industrial Labels): Micro-labels for pharmaceuticals, electronics circuit boards, and jewelry tags utilize specialized high-density thermal printers operating at 600 DPI to maintain razor-thin module boundaries.
Why Module Geometry Dictates Minimum Pixel Sizing
A QR code is not a continuous, smooth photograph; it is a rigid, mathematical grid composed of individual square units called modules. Depending on the volume of data encoded and the error correction level, a QR code can range from Version 1 (21×21 modules) up to Version 40 (177×177 modules).
When generating a custom raster image (such as a PNG), every single module must be rendered using an exact, integer number of pixels (for example, exactly 10 pixels per module, or 16 pixels per module). If you force an odd image dimension—such as attempting to render a 25-module code inside a 210-pixel image—the generator is forced to resample and interpolate pixels, resulting in blurry, antialiased gray edges that slash optical contrast and cause scanning failures.

Master Sizing & Resolution Quick Reference Matrix
| Physical Medium | Physical Size (Inches / mm) | Target Print DPI | Exact Export Dimensions | Ideal File Format |
|---|---|---|---|---|
| Cosmetic / Vial Label | 1.0 x 1.0 in (25 mm) | 600 DPI | 600 x 600 px | Vector SVG / 600 DPI PNG |
| Business Card | 1.25 x 1.25 in (32 mm) | 300 DPI | 375 x 375 px | Vector SVG / 300 DPI PNG |
| Table Tent / Coaster | 2.5 x 2.5 in (65 mm) | 300 DPI | 750 x 750 px | Vector SVG / 300 DPI PNG |
| Trade Show Banner | 8.0 x 8.0 in (200 mm) | 150 DPI | 1200 x 1200 px | Vector SVG / PDF |
| Storefront Window Decal | 12.0 x 12.0 in (300 mm) | 150 DPI | 1800 x 1800 px | Vector SVG / EPS |
| Highway Billboard | 4.0 x 4.0 ft (1.2 meters) | 50 DPI | 2400 x 2400 px | Vector SVG |
The 10:1 Distance-to-Size Ratio for Scanning Physics
Beyond digital pixel dimensions and print resolution, physical scanning ergonomics plays a vital role in determining custom dimensions. An optical camera lens requires a minimum angle of view to resolve the individual modules of a 2D matrix clearly. To ensure effortless scanning across different environments, optical engineers rely on the proven 10:1 distance-to-size scanning rule:
The 10:1 Scanning Distance Rule: Minimum QR Code Width = Estimated Scanning Distance / 10
If your customer is standing two feet (24 inches) away while seated at a restaurant table, the QR code on the table tent should be at least 2.4 inches wide. If a trade show visitor is viewing a promotional banner from a distance of ten feet (120 inches), the code should measure at least 12 inches across. When designing highway billboards intended to be scanned from fifty feet away at red traffic lights, the barcode must be at least five feet wide! Sizing your code strictly according to this optical distance rule ensures users never experience frustrating camera focus hunting.
Handling Substrate Materials and Light Reflection
The physical material upon which your custom sized QR code is printed directly impacts how camera sensors interpret pixel edges. Glossy vinyl banners, laminated restaurant menus, and metallic aluminum foils can create harsh specular glare under bright sunlight or overhead spotlights, washing out black modules. When producing oversized displays or outdoor signage, specify matte or satin laminate finishes to diffuse ambient reflections. For backlit airport displays and translucent glass storefront decals, increase module dimensions by an extra twenty percent to compensate for light bleed around the module edges.
Best Practices When Custom Sizing Your QR Codes
To guarantee that your custom sized barcodes render flawlessly across web platforms and physical production lines, follow these production rules:
- Default to Vector SVG for All Print Projects: When exporting from myQRCodeKit, always choose SVG (Scalable Vector Graphics) for items destined for commercial print. An SVG file is resolution-independent; your prepress technician can scale it to two inches or twenty feet without a single ounce of quality loss.
- Never Rely on Desktop Software Resampling: If you must use a raster PNG, generate it at the exact target pixel dimension in myQRCodeKit. Dragging a 200-pixel PNG into Adobe InDesign and stretching it to 800 pixels causes bilinear interpolation blur that degrades scan reliability.
- Remember the 4-Module Quiet Zone: When configuring custom dimensions, verify that your export dimensions include the mandatory four-module white margin surrounding the code. Do not crop the margin to hit a round pixel number!
- Test Sizing at Real Scan Distances: Before sending files to the printer, print a 100% scale paper proof on your office printer, tape it to the wall at the intended scanning distance, and verify that multiple smartphones can lock focus instantly.
Generating custom sized QR codes with precise pixel dimensions and mathematical resolution accuracy ensures your designs print with razor-sharp geometric precision, delivering instant, reliable scans across every marketing medium.


Leave a Reply